Hi Floks,
Today I am going to talk regarding delegate control which is mostly used to insert SharePoint control in simple html pages. SharePoint contains many delegate control in it's default master-page. Some of them are as listed below:
- AdditionalPageHead
- GlobalSiteLink0
- GlobalSiteLink1
- GlobalSiteLink2
- PublishingConsole
- QuickLaunchDataSource
- SmallSearchInputBox
- TopNavigationDataSource
You can customize this control as well as you can create you own delegate control by following below steaps:
- Create Blank SharePoint blank solution in Visual Studio 2012

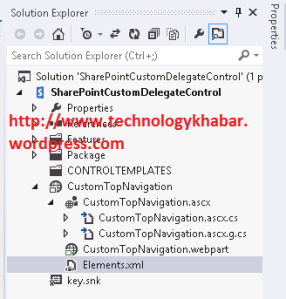
- Add Visual Web-part in the solution.

- Open Elements.xml file and do following changes.
- Do comment in Module tag and add below code in Elements.xml file
- You can modify the the attribute value as per your requirements.
- ID: This is control ID which is used to refer in the MasterPage
- Sequence: Sequence of the Control
- Control Src: ASCX file path which contains design of your control
<Control Id="CustomTopNavigation"
 Sequence="23"
 ControlSrc="~/_CONTROLTEMPLATES/15/MyCustomTopNavigation/TopNavigationUserControl.ascx" />
- After modifying the Elemetns.xml file your xml file looks like below image.

- My deploy your solution on SharePoint Site.
- Activate your solution Feature from the Site Settings.
- Now Add below tag in you html file/master page (.html) version
- Replace ControlID value as per ID value specified in Elements.xml file
<!--MS:<SharePoint:DelegateControl runat="server" ControlId="CustomTopNavigation" Id="topNavigationDelegate"/>-->
- Save your master page and publish as major version and verify the page which inherited from that Master page you can see your control on that page.
Thanks.


0 comments:
Post a Comment